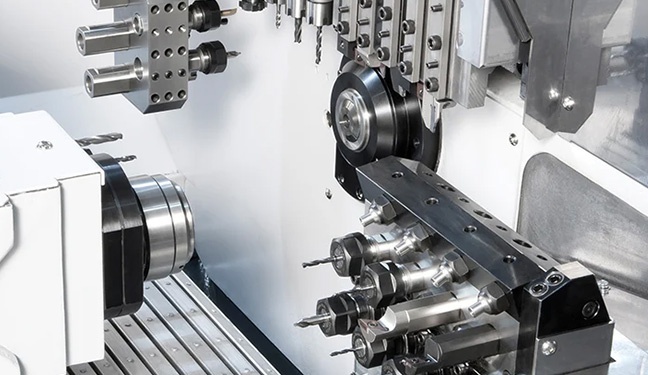
How to install linear guides?
Oct 31, 2025
Pre-installation Preparation
1. Tools and Materials
Mounting Platform/Equipment Base: A pre-machined mounting surface.
Hex Wrench: Matches the guide rail bolts; preferably with torque display.
Dial Indicator/Dial Marker: With magnetic base for precision measurement.
Level: Precision grade; for initial leveling.
Marble Platform or Precision Straightedge: As a straightness reference.
Lin-free Cloth, High-purity Alcohol, or Acetone: For cleaning.
Gloves: To prevent sweat from corroding the guide rails.
Screwdriver or Pry Bar: For moving the slide.
2. Cleaning Procedure
Clean Mounting Surfaces: Thoroughly wipe the guide rail mounting surfaces, threaded holes, and positioning reference surfaces on the equipment base with a lint-free cloth dampened with alcohol or acetone. Ensure there is no oil, dust, burrs, or old sealant residue.
Clean Guide Rails:
Do not remove the original packaging of the guide rails until just before installation.
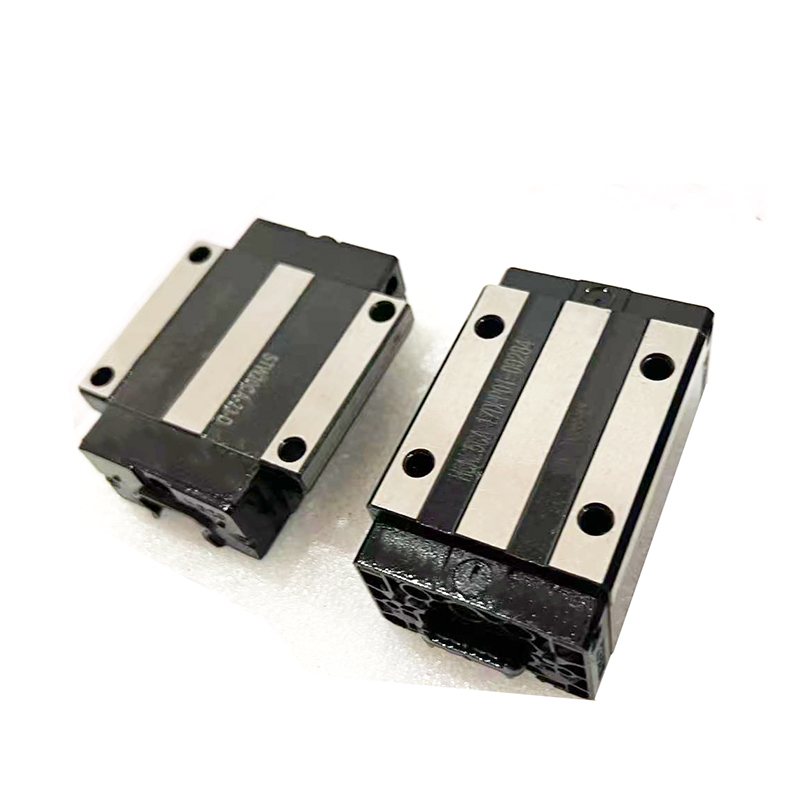
After removing the guide rail, gently wipe the bottom and sides (mounting surfaces) of the guide rail with a cleaning agent. Do not wipe the raceway surface or the slider!
The oil filling hole on the slider is usually sealed; be careful not to contaminate the inside during cleaning.
Inspection: Touch all mounting surfaces to check for scratches and burrs. If there are minor burrs, gently polish them with an oilstone.
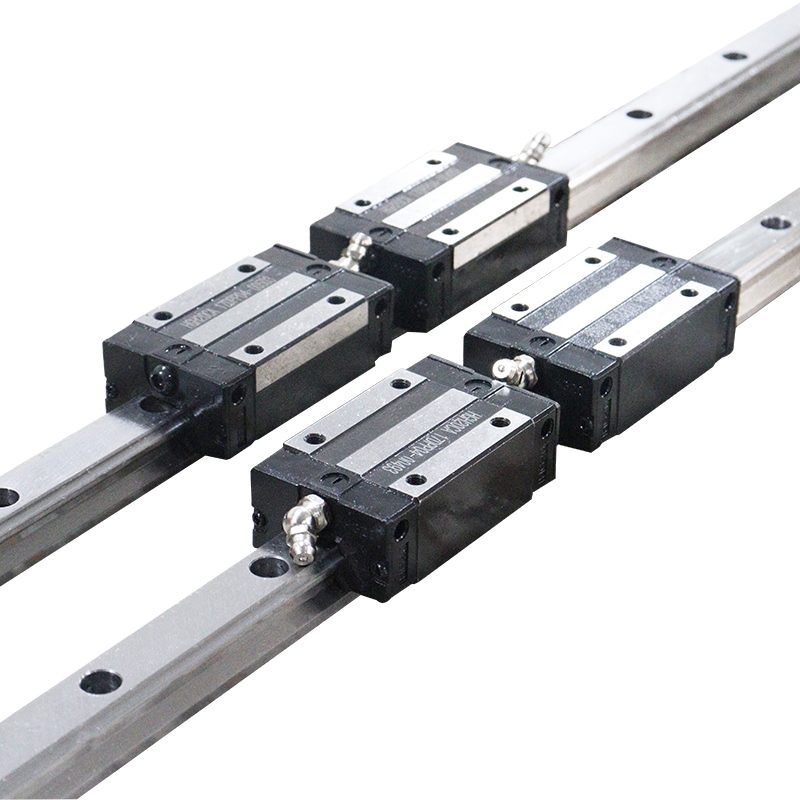
Installation Steps (Taking a pair of guide rails as an example)
Step 1: Install the first guide rail (reference guide rail)
This is the most crucial step, as its accuracy determines the accuracy of the entire system.
Place the guide rail: Gently place the first guide rail (usually the longer one as the reference) on the mounting surface. Pre-tighten all mounting bolts by hand, but do not tighten them completely; ensure the bolts can be turned easily.
Correct straightness (optional but recommended):
Place the dial indicator head against the side (finished surface) of the guide rail.
Slowly move the dial indicator base along the length of the guide rail and observe the dial indicator reading. Adjust the readings by gently tapping the side of the guide rail (using a plastic or brass hammer) until the variation is within acceptable limits (e.g., ±0.01mm).
This step ensures the straightness of the individual guide rails.
Initial Fixing: Starting with the bolt in the middle of the guide rail, tighten the bolts diagonally to approximately 70% of the rated torque. This prevents the guide rail from deforming due to uneven stress.
Final Tightening: Again, tighten all bolts diagonally to 100% of the rated torque.
Step Two: Install the Second Guide Rail (Driven Guide Rail)
The goal is to ensure the parallelism of the two guide rails.
Place the Second Guide Rail and Slides: Place the second guide rail on the mounting surface and pre-install the bolts. Simultaneously, install the two sliders (slides) onto the two guide rails respectively.
Connecting the Slides: Use the machine's worktable or a precision connecting plate to connect the two slides. This forms a single unit.
Correcting Parallelism:
This is the most crucial step. Place the dial indicator head against the side of the second guide rail.
Slowly push the worktable/connecting plate back and forth, causing the slide to move the entire measuring system along the reference guide rail.
The change in the dial indicator reading reflects the parallelism error between the two guide rails.
Adjust by gently tapping the second guide rail until the dial indicator reading changes to the required accuracy (e.g., ±0.01mm).
Secure the second guide rail:
Once the parallelism is adjusted, hold the second guide rail in place, then loosen the connection between one of the slides and the worktable/connecting plate. This is to release internal stress caused by forced alignment.
Tighten all mounting bolts of the second guide rail diagonally to the rated torque.
Step 3: Final Inspection and Lubrication
Final Accuracy Confirmation: Push the worktable again and check the parallelism with the dial indicator to confirm that the accuracy has not changed after tightening the bolts.
Running Test: Manually push the worktable, moving it throughout its entire stroke. The operation should feel smooth and fluid, without any sticking, unusual noises, or inconsistent pressure.
Adding Grease/Oil:
Remove the grease fitting seal from the slider end.
Use the specified grease or oil, applying it through the grease gun until the old and new grease slightly overflow from the edge of the seal.
Install the dust cap (if applicable).
Precautions and Common Mistakes
**Do Not Strik:** Never strike the guide rail, slider, or ball screw directly with a hammer. Use a plastic or brass hammer for fine-tuning.
**Do Not Disassemble the Slider:** The slider is a precision component. If it slides off the guide rail, the balls may fall out, causing permanent loss of precision or functional damage. Never separate the slider from the guide rail unless absolutely necessary.
**Incorrect Bolt Tightening Sequence:** Tightening bolts directly from one end to the other will cause the guide rail to twist, creating internal stress and severely affecting straightness and parallelism.
Inadequate cleaning: Even tiny dust particles entering the raceway can act like "grinding sand," drastically accelerating the wear of the guide rails and sliders, leading to premature failure.
Ignoring stress relief: Failing to loosen the connection of one side of the slide when installing the second guide rail will put the entire system in a pre-stressed state, increasing resistance during operation, generating heat and noise, and reducing lifespan.


 Network Supported